For the second part of my two-part tutorial, here is how I make a Celtic Knot in my pen blanks using my new jig.
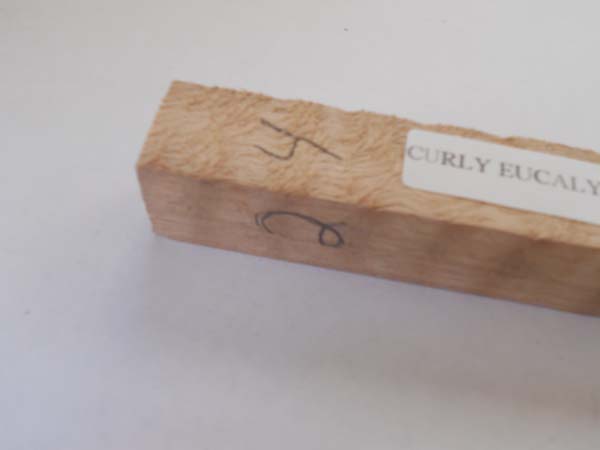
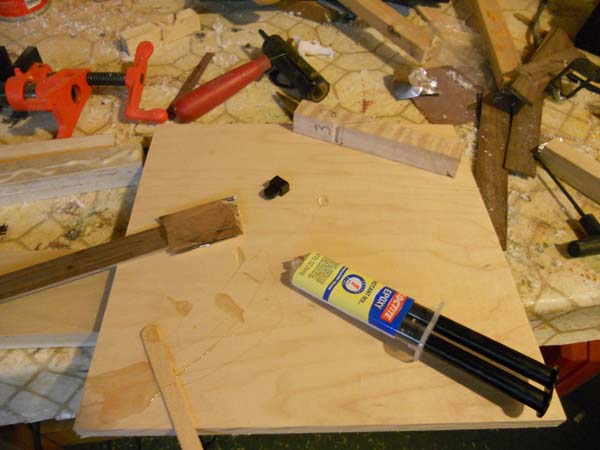
1. Pen Blank (Curly Eucalyptus from woodturningz.com)
2. Walnut veneer (planed down to thickness of saw kerf)
3. Alumium Foil
4. 1 min epoxy
5. Celtic Knot Jig (See previous tutorial)
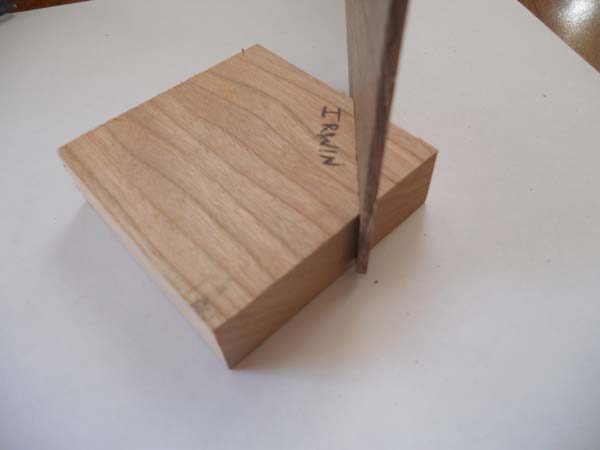
Step 1
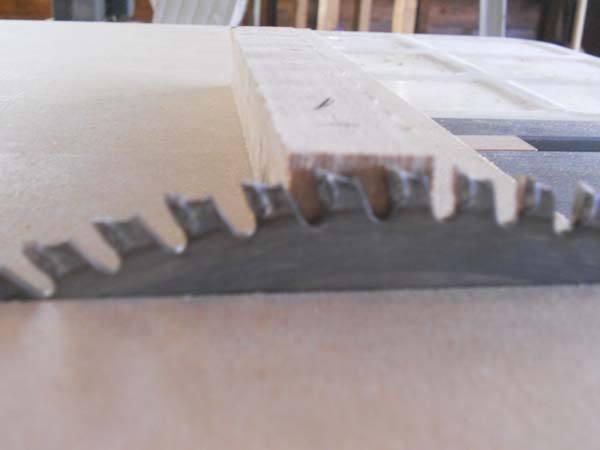
I first made a cut with my table saw into a scrap piece of wood. This will determine my veneer thickness.

Step 2
I planed down some scrap pieces of walnut until it fit snug in my slot.
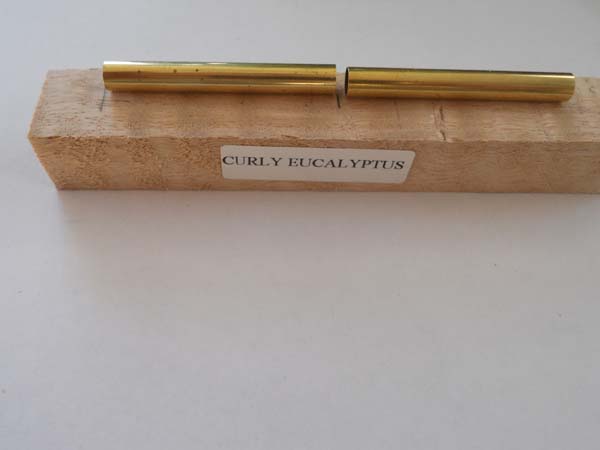
Step 3
I then took the pen tubes out of the bag and laid them out on my pen blank. I want to get an idea of where this Celtic Knot will be placed. Since my blank is so long, I am not too worried about the knot placement.
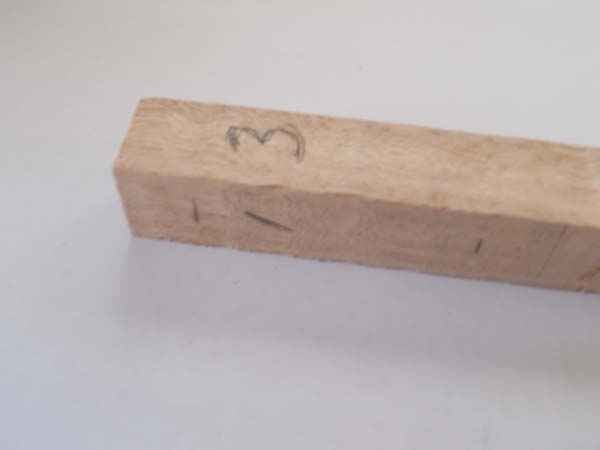
Step 4
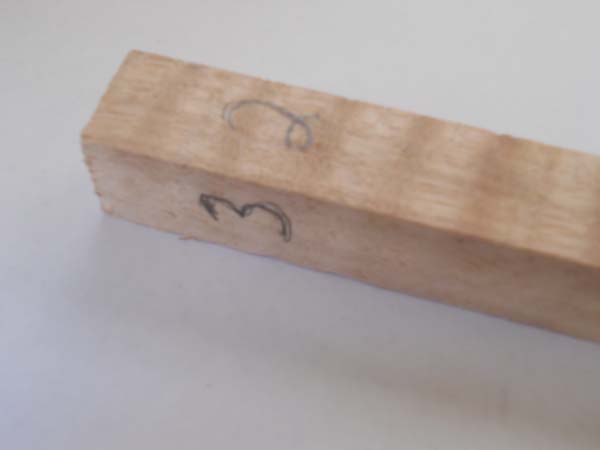
I marked a “1” on the pen blank to identify my first cut. Turn the bank 90 degrees, and mark “3”. Turn the pen 90 degrees again and mark “2”. Turn the blank 90 degrees one more time and mark “4”.
Step 5
Put the Celtic Knot jig on your table saw, and place your pen blank by the saw blade. Make sure the blade is slightly lower than the height of the pen blank. You do not want the entire piece to be cut off so the glue ups are easier, and you wont have to worry about perfectly lining up the two pen blank pieces.
Step 6
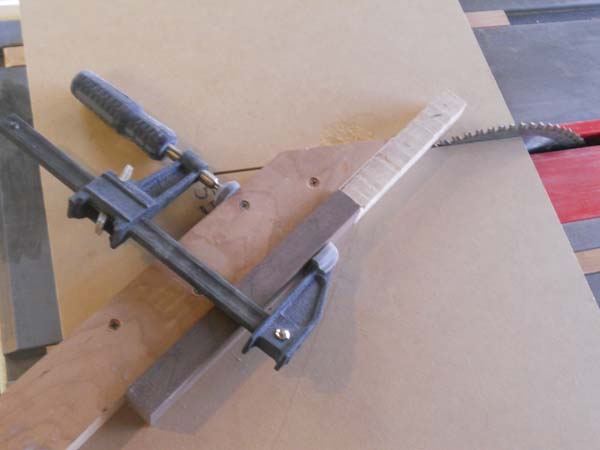
Now line up your pen blank to where the Celtic Knot will be located, and clamp a stop block to your Jig fence.
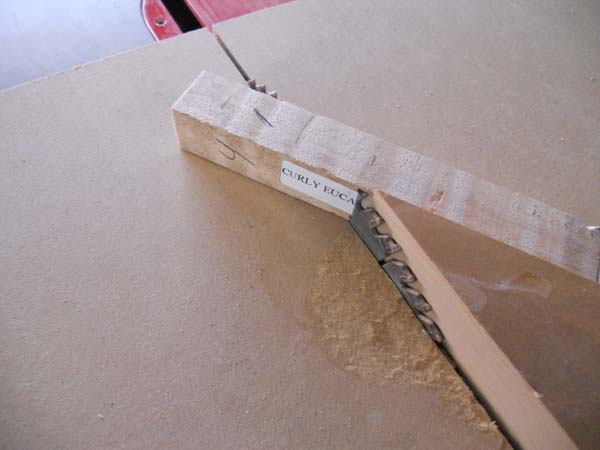
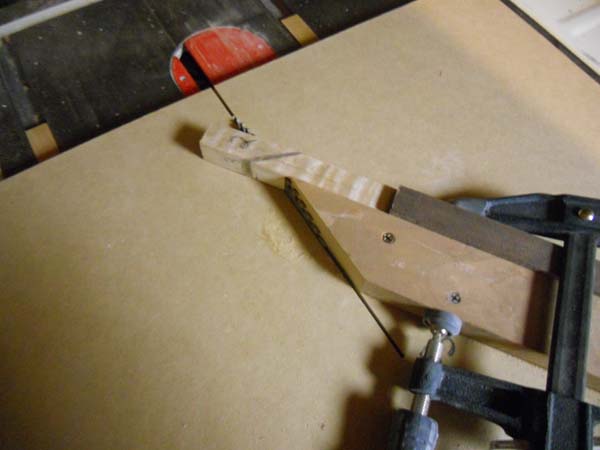
Step 7
With your stop block in place, you are ready to make your first cut. Make sure the “1” is facing up, and push the jig forward so you cut through the pen blank.
Step 8
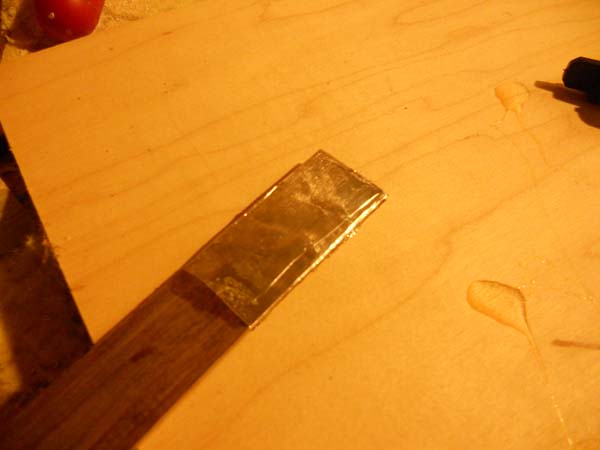
Aluminum foil is definitely optional, and I believe my quality would be better if I skipped this step. If you want to add foil accents, Just adhere the foil to both sides of your veneer using epoxy and wait 5-10 minutes to cure. When its done curing, cut the excess foil off with a razor.
Step 9
Now epoxy your foil wrapped veneer in your pen blank slot.
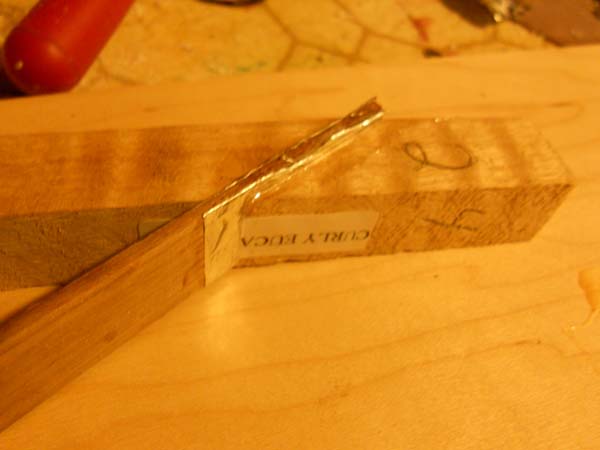
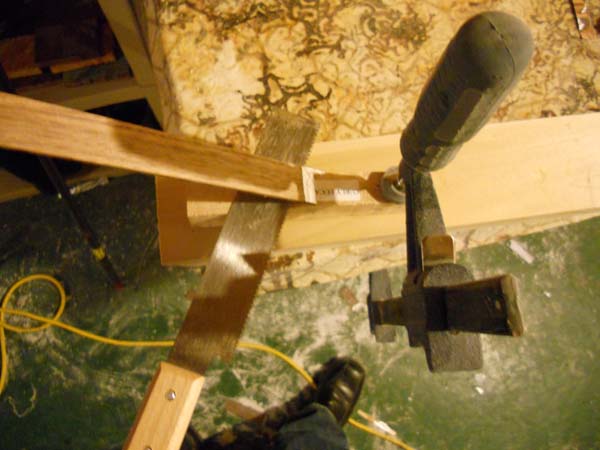
Step 10
Cut the veneer off with a flush cut hand saw, and give the surface a quick sand.
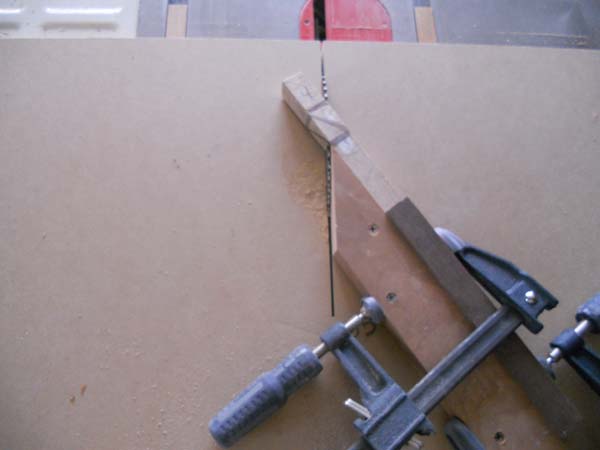
Step 11
Take your pen blank back to your jig and make another cut, but this time with “2” facing up. After the cut, epoxy your foil wrapped veneer in the slot, flush cut the excess and sand. Now you are ready to make another cut on your jig, but this time with “3” facing up. Epoxy your veneer in place, and continue your last cut with “4” facing up.
Step 12
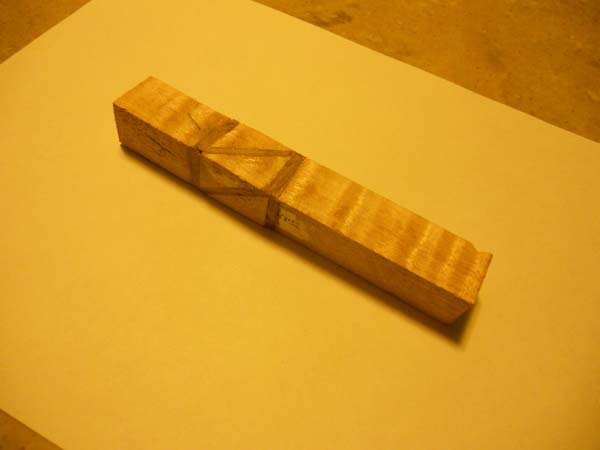
You are now finished with your pen blank. All four sides should look the same, which will appear as shown in the picture below.
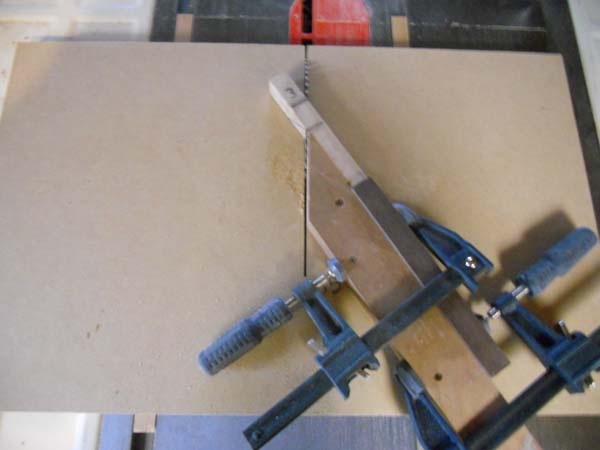
As always, my thoughts.
- You may notice midway through my cuts i added another clamp. I added an extra clamp because the stop block moved on me a bit, which may screw up my “perfect” knot.
- I first tried adhering aluminum foil to my veneer with CA glue, or super glue. This worked for my first blank, but my second blank ended up falling apart when drilling a hole for my pen tube.
- I am not going to wrap my veneer in foil anymore. Not only is it barely visible, it packs out my veneer a bit which makes it too tight in my saw cut slot. My blank is a bit warped now due to the veneer being too thick.
- As stated before, I do not plan on writing a tutorial on turning a pen. There are tons of tutorials from individuals who have been doing this for years. I will however show my finished pen off when i am finished turning & applying CA glue.
Chris

I have the same problem with aluminum foil, so switched to scrap aluminum that my husband brings home from work and give it a light sanding before using CA glue (thick) and haven’t had a problem since. It’s thicker than aluminum foil as well, so accents much better.
What a wonderful tutorial. It’s the best I’ve seen. You clarified a lot for me. Thanks so much for posting.
No problem!
Thanks for pen demo
Looking forward to trying the Celtic pen design
Hoping for a pic of the finished product
Steve
Thanks for the comment – The finished product is on my to do list, I just have too many half complete projects I am working on. Hopefully this weekend I can get it done.
My blog is on blogspot
Give it a look at
Mygrandfatherslathe@blogspot.com
Steve
I checked out your site a couple days ago – you have the 3D technique mastered! I am going to thoroughly read your posts and attempt to make a pin wheel design in my next cutting board.
Nicely done.
Cool, watch out for that 30 degree cut , it can be dicey
I am just learning word press and moving from Blogger
Any recommendations?
I find this whole process difficult compared to the pinwheels.
Reblogged this on Birstall Woodturning Club.
Thanks you made the Celtic knot doable for me.
Good to hear… Feel free to pass along a picture of your finished work!!